ASSIGNMENT 2: Non-rectangular box
Feb 11, 2016
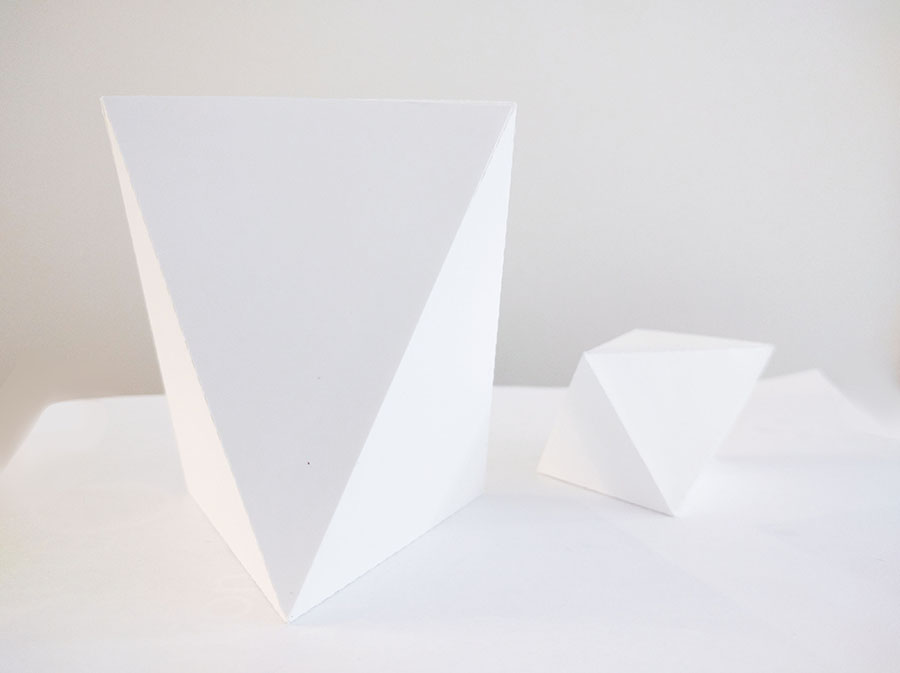
In this assignment, we made a box with all its faces in triangle. The box is made by card paper using a vinyl cutter.
Phase 1: Prototyping
We tried to cut some small pieces of triangles and glue them together for several times to see how we should design our box. Some of them were not working because the length of the edges didn't match, which we later improved in our final design.
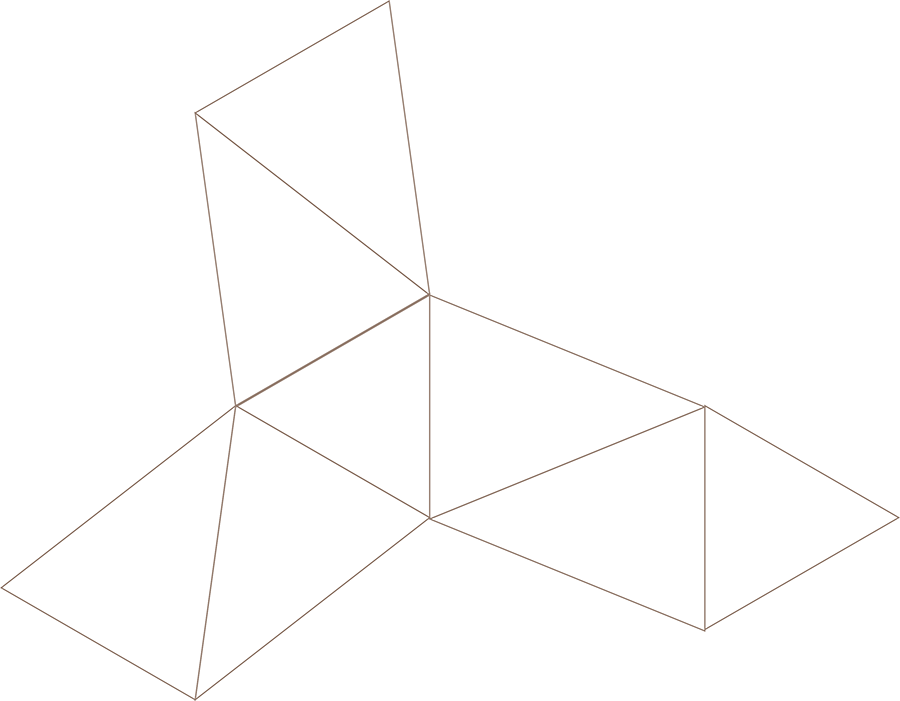
This is a draft design base on the previous attempts we made in Illustrator.
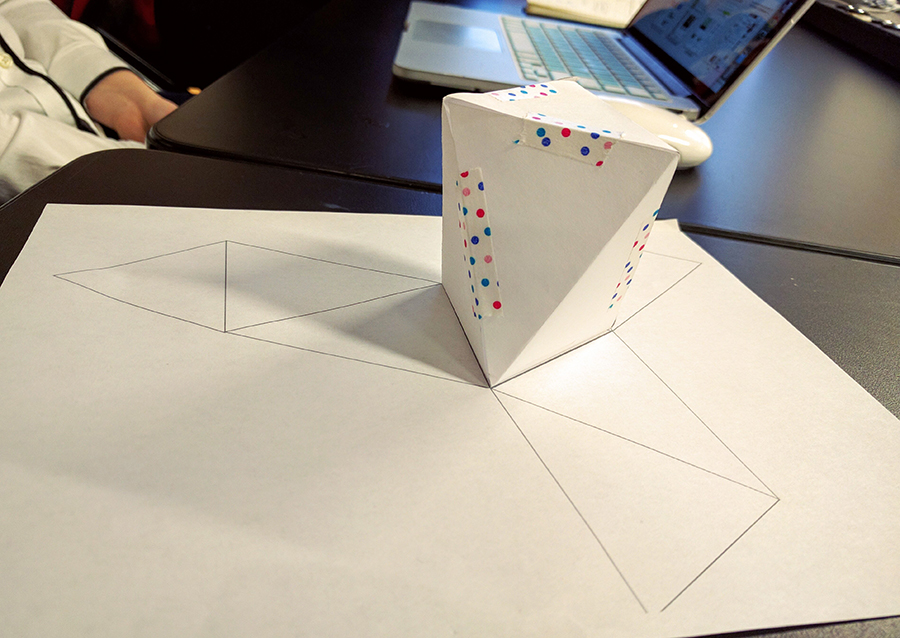
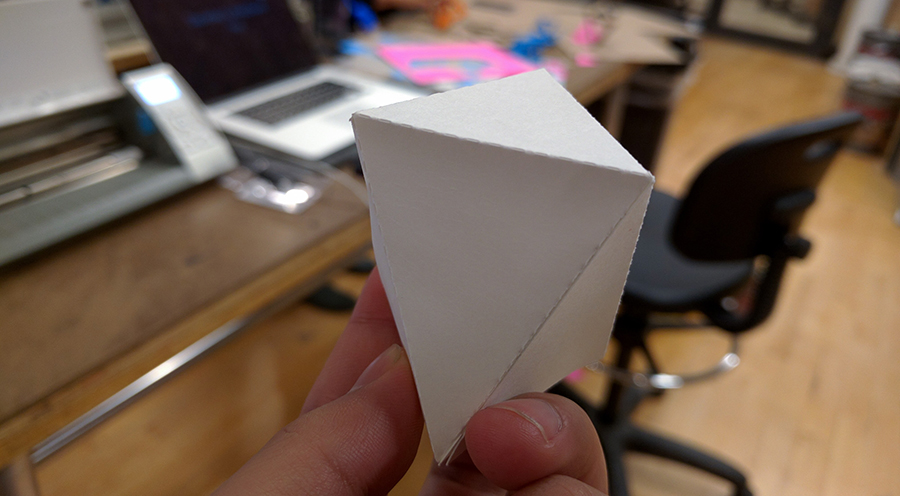
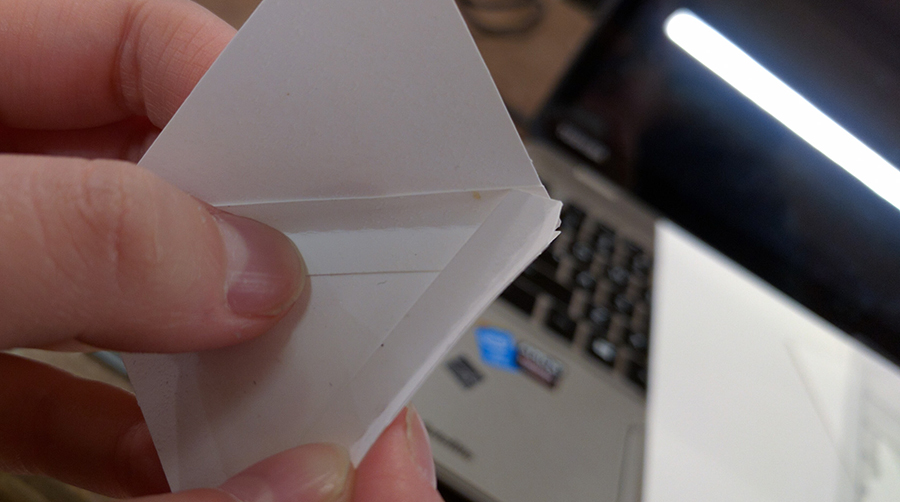
And this is our first successful prototype made by copy paper and masking tape.
Phase 2: Working with paper and vinyl cutter
In terms of the materials, we were thinking of wood and paper. However, we found it hard for wood to create the sharp angles on our box. Therefore, we decide to make our box with paper and vinyl cutter.
Our first version is very similar to the prototype we did last week. We just cut the outline of the spread box and folded it into a 3D object.

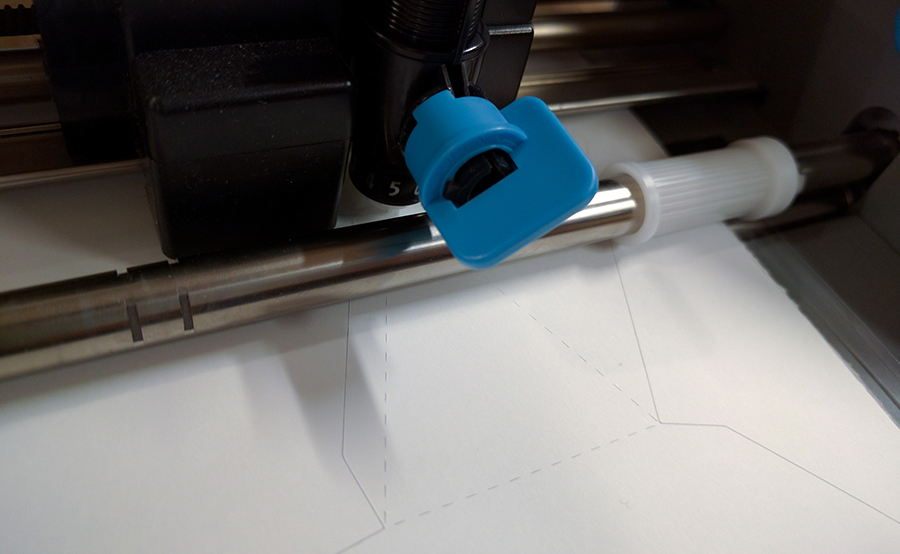
Testing the cutter settings.
A very small test version of our first design.
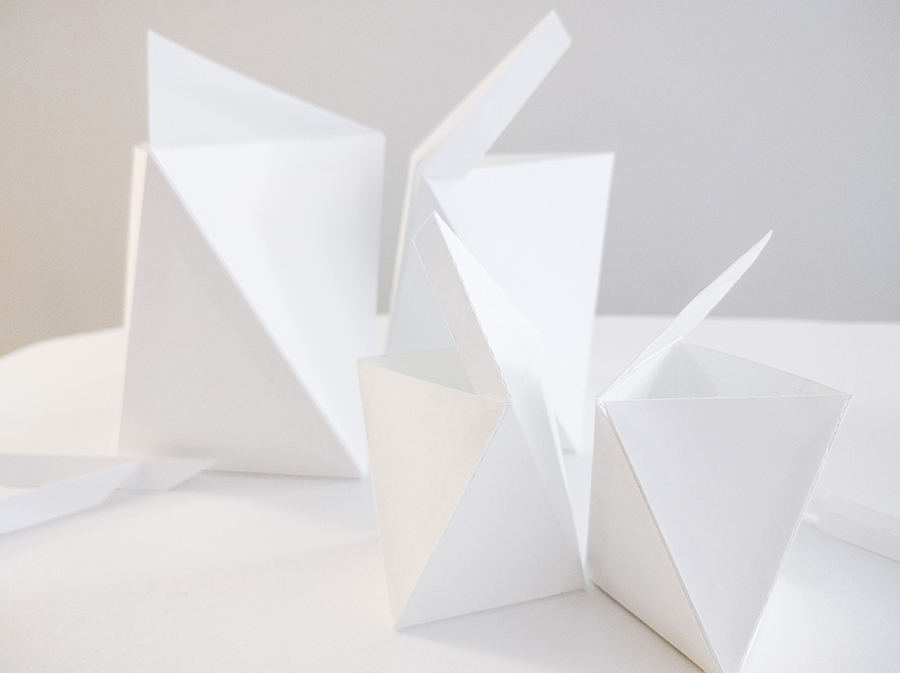
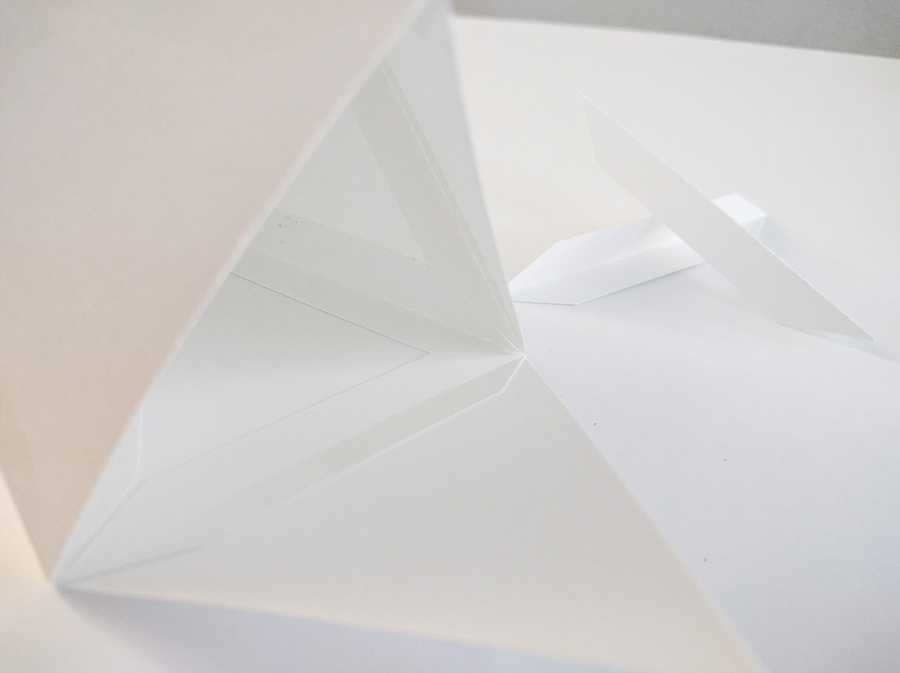
Later we came up with a new idea that instead of spreading the box to 2D, another solution is to break the box into edges and face.
Like this:
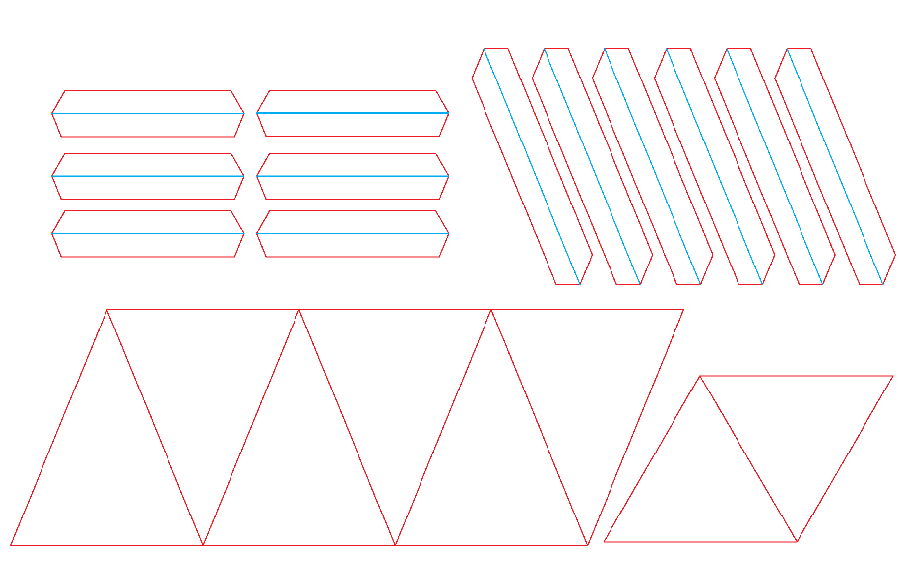
This one looks nicer than the first one, but it takes much longer time to put together.
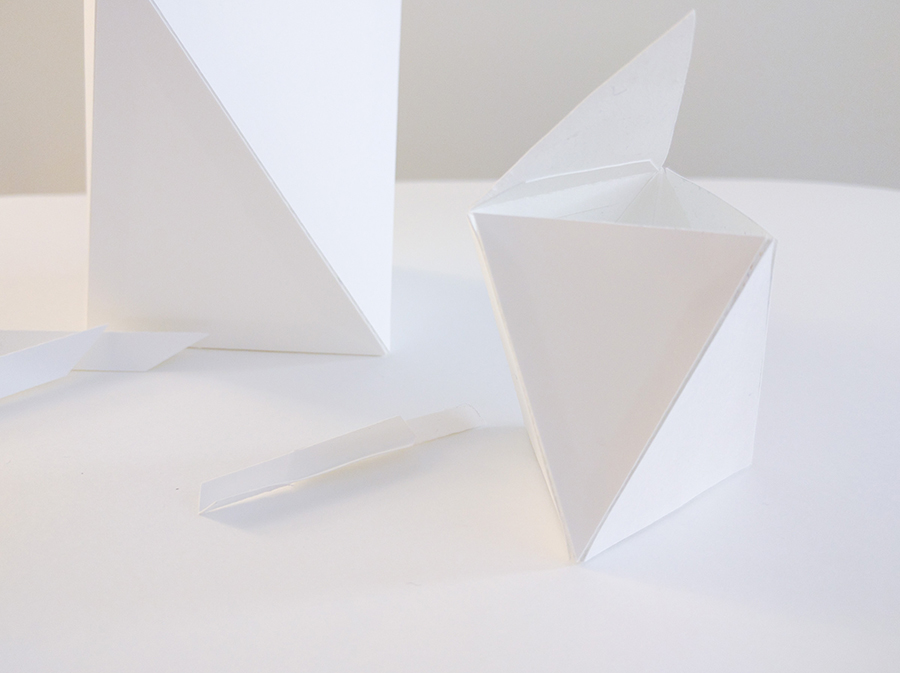
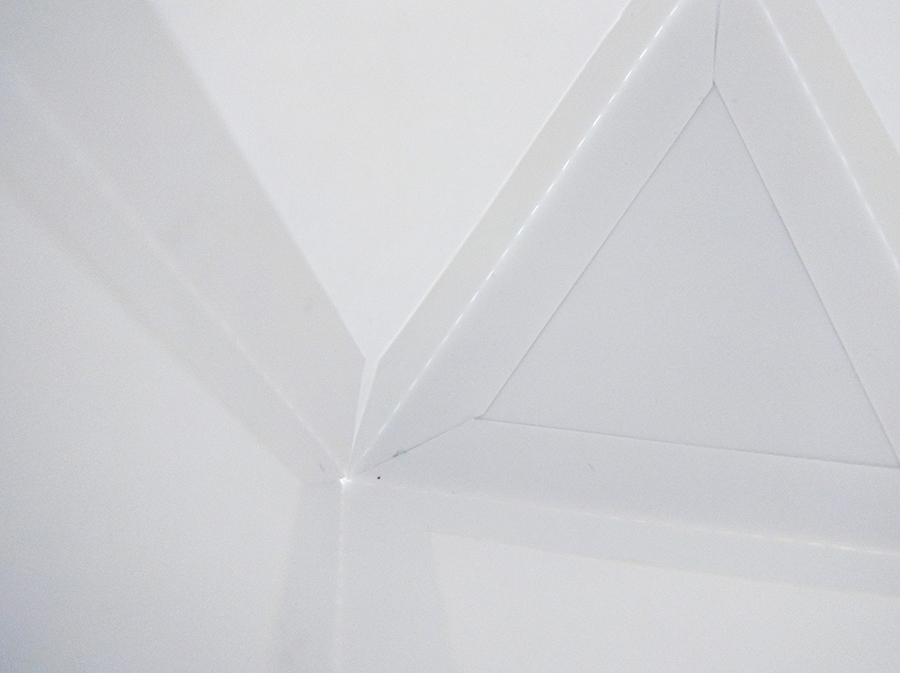
Some details on the edges:
Challenges
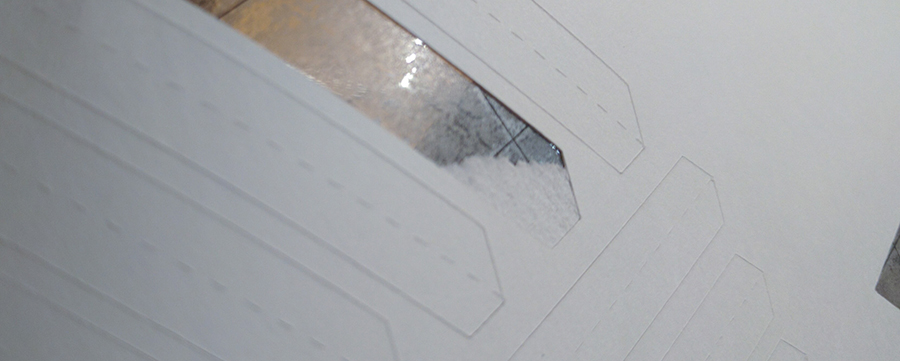
The paper we used for the box is Epson's Ultra Premium Matte Presentation Paper. It is pretty thick (51lb), and in our early tests the cutter was not able to cut it through.
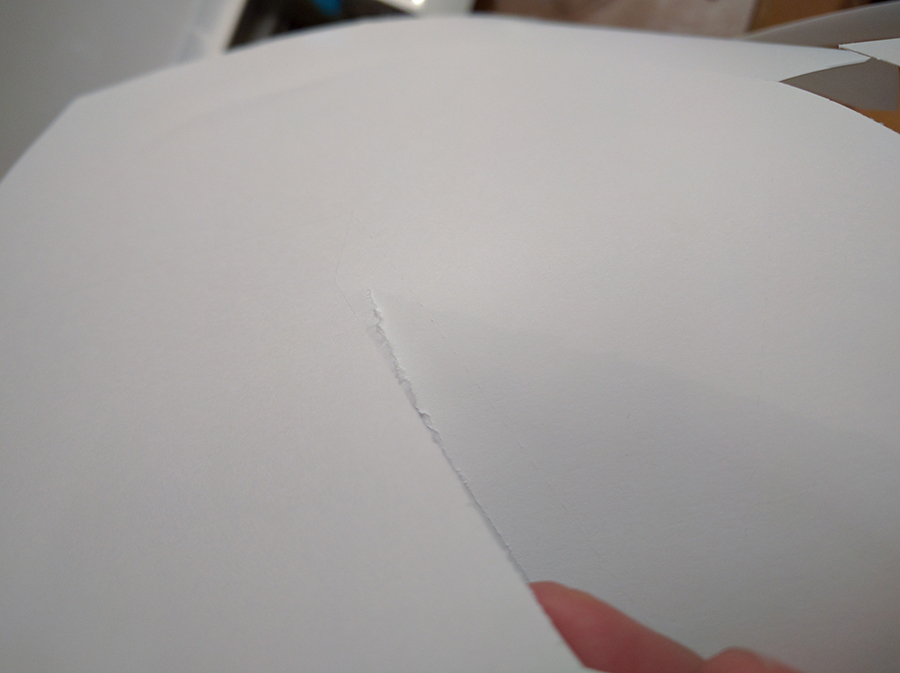
At the beginning, our brand new cutting mat is so sticky that we could't peel the paper off well. We realized that it also could do with the side of the paper, as one side of the paper is smooth and the other side is rough. If the smooth side is placed onto the mat, it will be easier to peel it off. However, if you put the rough side down, chances are you are gonna pull the paper apart.
(Oh nooooooooo!)
In our second design, we set the angles of the edges wrongly. The edges went on top of each other. We just fixed it by cutting it by hand.
Phase 3: Finalizing
The final version.